

So one of my favorite things about summer is pulling out all those old high waist pants I had found at Goodwill and styling' them up! I have created a few of high waist shorts before and completely loved everything about creating a unique pair of shorts no one else has! Here is a brief overview on how I created these lovely high-waist shorties. Enjoy!

Take a pair of old high-waist jeans. Your local thrift store should have a right fit for you.


You will need a pair of scissors, (good sharp cutting scissors) a marker to mark the inside of the thigh where you want to cut the pants into shorts, bleach, a bucket, ( I used my sink, I DO NOT recommend this), studs (of your choice) a pair of gloves (for when you are bleaching the shorts) and a well vented area because bleach is a harmful and very powerful chemical. Please use your best judgement when doing this DIY.

Mark a estimate area in the inner thigh on one leg. I cut about 3" up by the crotch area. You always want to cut longer rather than shorter, always.

Cut into a straight line where you marked the pants.
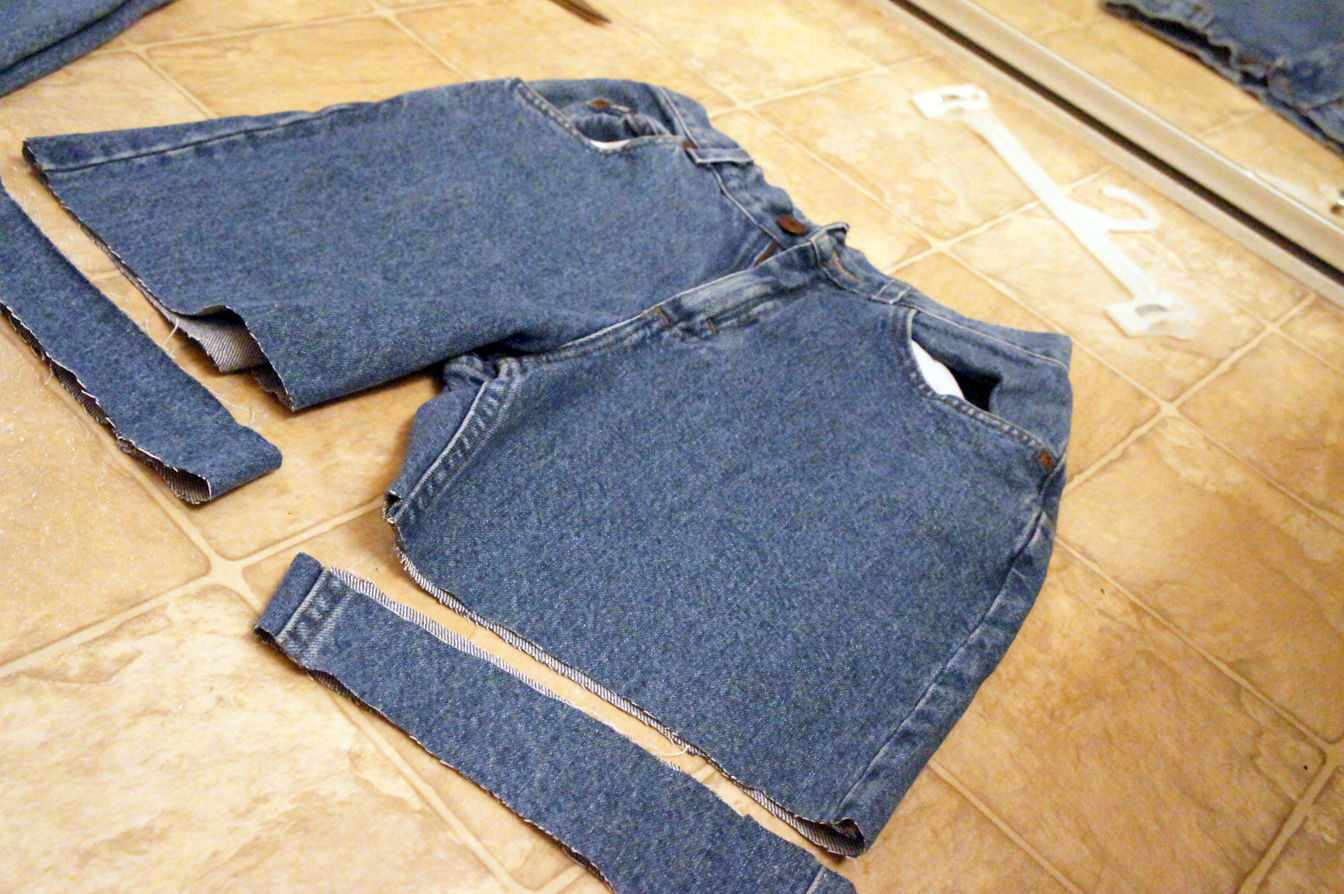
Flip cut side over to non-cut side of the pant leg to get a even lengthen cut and then proceed to cut.

I cut more off the shorts because they were too long. Try the shorts on before cutting to make sure they will be the correct length.

Then process to fold you shorts to the desired length. Here I had folded the shorts 3 times.

Now it is time to bleach! Again I do recommend doing this outside with a bucket.


Put on your pair of gloves.

Fill the sink with the desired amount of bleach.


Dip the bottom of the shorts in the sink.
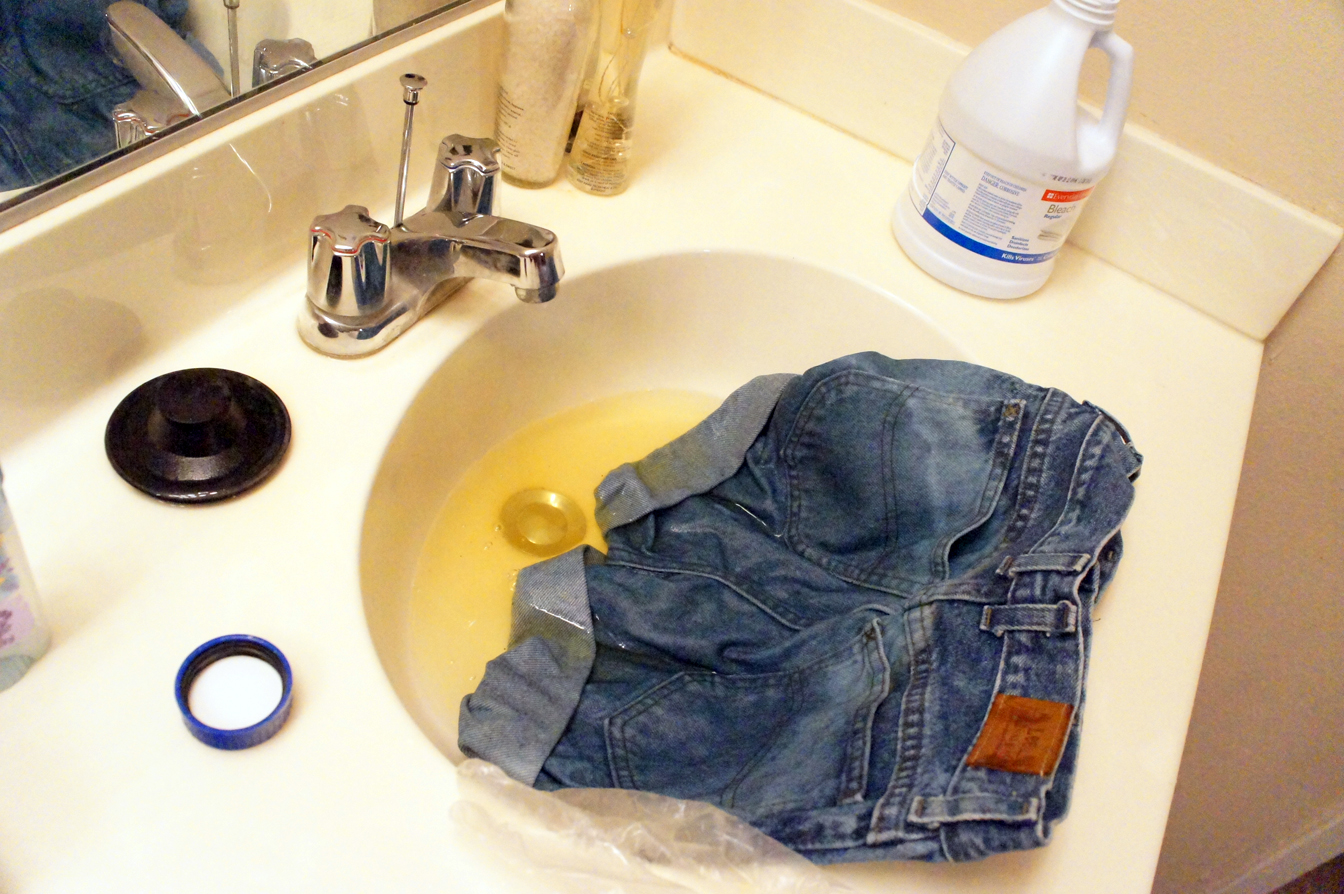
Leave in until desired color is shown.

Then rinse with cold water to get the excess bleach out.

Hand to dry overnight, (hand them outside, the bleach will be powerful)


The imperfections make the shorts yours and unique.

I just love when bleach misses some areas. So perfectly imperfect.


Now it is time to stud. I used Silver Dome Studs Large 3/4".

If you need help how to apply studs, click here.
So I decided that I didn't want the folded shorts, so I decided to cut them just to my usual shorties. The folds will help you on which length you want your shorts. For myself, I unfolded one fold and made that fold large to the length I wanted it. I cut long the fold and I got the perfect length.

I shredded the front using my sharp scissors and messed them up a bit.
*Just a reminder, this bleach will leak when washing, so wash alone, and hang dry. If you must, dry them in the dyer once or twice max. The tears will open and some studs may fall off but you can always re-apply the studs.

The finished product! Aren't they lovely!
Cheers and good luck on your DIY shorties!
No comments:
Post a Comment